Showing posts with label hair accessories. Show all posts

Friday, July 6, 2012

Shabby Chic Jewelry-holder tutorial

 This is such an easy and thrifty solution to hang your jewelry from. If you're like me, you want to be able to see them so you can easily choose which piece you want to wear. And like most people, I had more wall space than I  counter space, so this was a great solution for me!


I found an old picture frame at the thrift store (the one with the velvet in-lay). This isn't the one, but I forgot to take a "before" picture--and this one's pretty close to what it looked like. I paid $1.00 for it.

 
 Next, I bought a subtle off-white paint sample at Home Depot. It was an "oops", so I paid $.50 for it.
I painted the whole thing a few times--taking special care to liberally coat the velvet. As soon as all coats were dry, I lightly sanded the edges and detail to give it an aged look. Then I drilled 5 evenly spaced holes in the velvet part.
 Also at Home Depot, I bought the cheapest wooden knobs I could find and painted them.
 This is what they looked like scuffed and installed. Cute, aren't they?
 Then, I stretched a piece of fabric (cut 1" bigger on all sides) over Dollar Store foam core using hot glue on the back.
 I decided at the last minute to add more hooks on the bottom.
 Here's the finished product. I also made one to hold my hair accessories by gluing vertical pieces of ribbon on it.
That's it! I have been absolutely loving it! Not only is it very functional and cleared up quite a bit of space for me, but it's such a fun way to add pops of color to a drab wall!

Friday, January 6, 2012

Felt & Fabric Flowers with Feathers Wreath in a Frame

Tongue twister!
No, that's not why I put an F on my wreath...
just coincidental. Haha! ;) Our last name is Foster.
Here's a little tutorial I've put together for ya. Complete with instructions/links on how to make each flower on this baby.
This is the finished product.
This is what it looked like before I decided to add a little to it. I thought it needed more presence.
I've been told I can't leave well enough alone. Oh well!
 THIS is what it looked like yesterday when I got it.
I intercepted it as it was destined for the thrift store.
I couldn't wait to transform it!
 I peeled off it's pink tinsel layers and found the wreath to be like new!
I loved that one part was thicker than the rest, too! Perfect place to put the flowers.
 I wrapped it in 2" wide black satin ribbon,
 gathered my fabric/felt/ribbon/feather scraps,
 and made these flowers.
The tutorials for these are
HERE (Big Ruffled Silver one),
HERE (Two-toned Red & Black ones),
HERE (Black Petal one on far left)
HERE (Small Rolled Rosettes), and
HERE (Fluffy, Loopy Felt ones).
 I hot glued them right on the ribbon.
 Here are all the flowers on it.
 Then I added the feathers.
 This was originally the finished product.
By the way,
HERE's a tutorial on how to turn your regular, short, plain dollar store wreath hanger into this ribbon hanger.
But then I decided I wanted to add an "F" for Foster.
So, I (very sloppily) cut it out of some pre-used foam core.
 The pics uploaded sideways. Oh well.
I wrapped it in torn fabric strips,
 then added a flower and some feathers.
 I glued the F onto the wreath, and hot-glued the wreath onto an empty picture frame.
 And now it hangs on my door.
:)

Petal Felt Flower Tutorial

This is a fun one, too! The picture doesn't do it justice. It really is a cute flower!
First, cut out a bunch of petal shapes.
Put a line of glue on the bottom of the first petal.
Roll up and add a couple more petals, doing the same thing. This makes your center.
 Continue to add one petal at a time...pinching the base of each petal together before adding it to the flower--to pucker it a little.
 Add as many as you'd like. I made my flower kind of small--only because I ran out of felt. Haha! I'd normally run to the store, but I do most of my crafting in the middle of the night while my kiddos are sleeping.
I added a pearl to the center so it would match my project.
HERE's the finished project, if you'd like to see it all together.

Ruffled, Singed-edge Fabric Flower Tutorial

This is one of my FAVORITE fabric flowers ever!
For this one in the picture, I used taffeta, but you can use any fabric that will singe.
First, you tear a 2" strip. I probably used about 24" in length for this big flower here.
Singe the edges...only be kinda messy about it.
 I love the rustic look of these edges! Especially when made into a flower!
 Next, sew a basting stitch down the center. Don't worry if you're off a little.
I think it looks better with a little irregularity to it-- more natural. Ya know?
Now gather it.
 Fold it in half length-wise, using the stitching as your fold-line. I folded the gray sides together. You can lightly iron it if you have a hard time keeping your fold together.
Now, put a dab of glue on your starting edge, and coil it to form a center.
 Continue to glue and coil until desired size is reached. Glue bottom of flower to a felt circle...to keep it clean and give it a little extra integrity.
Done! Fancy, eh? I especially love two-sided fabrics for these!
Click HERE if you'd like to see what I ended up making with these.

Double-layer Spiral Felt Rosette Tutorial

This is such an inexpensive and easy flower to make!
I bought the felt at the dollar store. But since it was so thin, I decided to stack it...

This is the result. I love the two-toned look!
Okay, so first, I cut the circles. I used a CD as a guide.
 Then, you cut a spiral, leaving about an 1 1/2 circle (or oval in my case).
*The thinner you cut your spiral, the bigger in diameter your flower will be, but it will be shorter.
 Then, taking the tapered end, put a dab of glue on it and roll it. No need for glue between layers. It'll stay together. You'll notice that the top piece will become longer than the underneath piece. No bigs. You can re-trim your center circle.
 When you've gotten to that point, glue each layer together on the center circle.
And VOILA! It's done! You can hot-glue a button, bead, pearl, or whatever in the center of these, too! These flowers are cute for just about any use-- wreaths, hair flowers, brooches, topiaries, embellish pillows & clothing, etc!
Click HERE if you'd like to see the project these flowers ended up on.

Friday, January 21, 2011

Fabric Headband Tutorial

TUTORIAL
Fabric Headband w/ Rosette
This headband really is easy to make! Read on, I'll show
you how, step-by-step!

Cut 2 pieces of fabric 2"x 20". You can use just about any
 type of fabric, with the exception of anything really light-
weight. Medium-weight fabrics work best; I chose some
 left-over taffeta I used to make my daughter a skirt out of.


Pin WRONG sides together (good side facing out).


Stitch about 1/4" from edges.


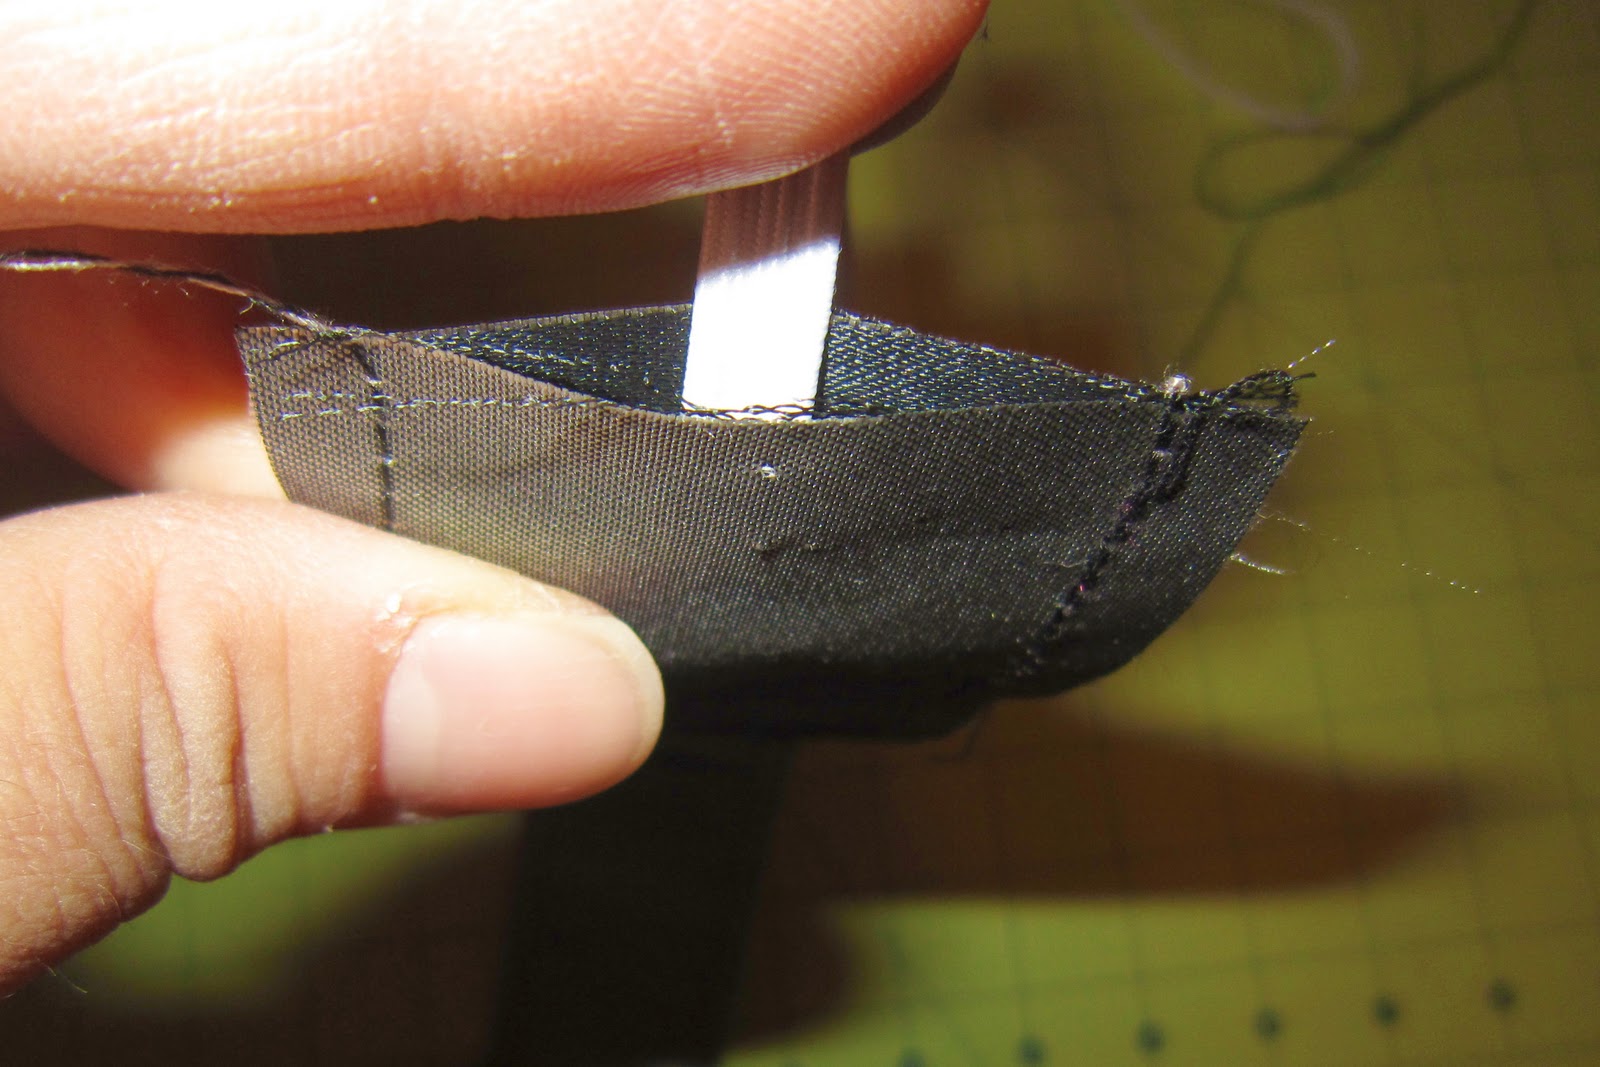
Slip each end of your elastic inside each end of the
headband.The elastic should be between     and      long.


Pin elastic in place.


Cut corners off diagonally.


Sew along diagonal edges. This is what your headband should look like.


Now, on to the flower.
Take a remaining piece of scrap fabric...


Twist. Nothing technical, just twist it up.


Glue edge down on a piece of felt.


Glue in a spiral while continuing to twist.


We're almost done! As you get close to
 the end, start gluing the rosette
 to itself rather than the felt.


Trim felt around edges a little smaller than the
 rosette so the felt won't be visible from the front.


Glue on to the headband slightly to one side.


Here's the side view. FINISHED.


Here's my lil' girl modeling her cute new headband!
 Cute, huh? I even borrow it from her sometimes!
Warning: Once you've made this, you'll
want to make one for every outfit!